Archive for the ‘Projects’ Category

Building a Treehouse

Saturday, July 2nd, 2011

Here’s a treehouse designed I worked on over the winter which I’m finally getting around to building. I spent a lot of time looking on the web for designs but the most useful resource was a book called “The Complete Guide: Build Your Kids a Treehouse” which is by Black & Decker. Then I worked it all out with Sketchup.

20110702-083147.jpg

Soundbox

Tuesday, May 24th, 2011

I’m building a sound effects box based on the legendary (to those in the know (geeks)) Texas Instruments SN76477 Sound Effects Generator. This chip was responsible for most video arcade game sound in the 80s and it’s versatility always impressed me. So I got the chip and am building a sound effects generator around it.

Here is the front panel and the start of the internal wiring

20110524-105208.jpg

20110524-105217.jpg

CNC Milling machine

Monday, April 11th, 2011

I’m starting work on a CNC milling machine. This is a machine that can, under computer control, automatically make cuts into wood, plastic and metal to create custom shapes. I’m building mine to mill printed circuit boards but you can do all kinds of neat stuff. My design is based on this. Here is the base.

20110411-125018.jpg

Useful sites:
CNCZone
DumpsterCNC
Hackaday CNC Hacks

All Band Radio

Saturday, March 26th, 2011

Some time ago I wanted to trace some wiring in the walls of my house. My cheapo metal detector kit wasn’t up to it so I thought an all band radio might work. Basically it’s a radio without the tuner. It uses an an antenna and detector to pick up any radio transmission on any band and play it out through a speaker. I based my design on this.

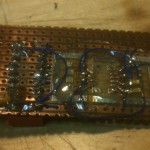
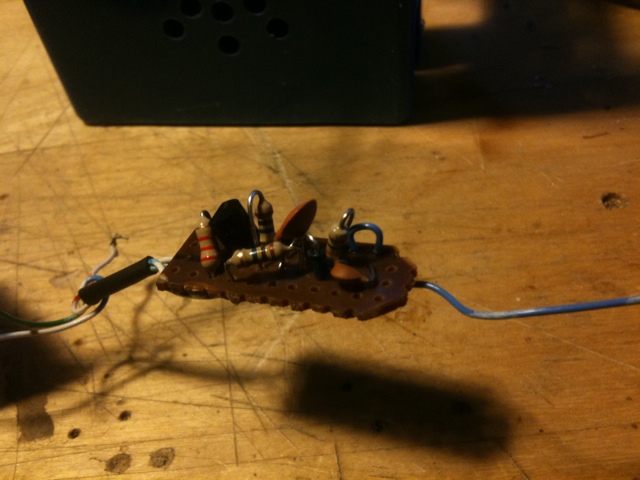
This is the detector circuit, based around an IN5711 small signal rectifier and a 2N3904 as buffer amp.

20110326-105609.jpg

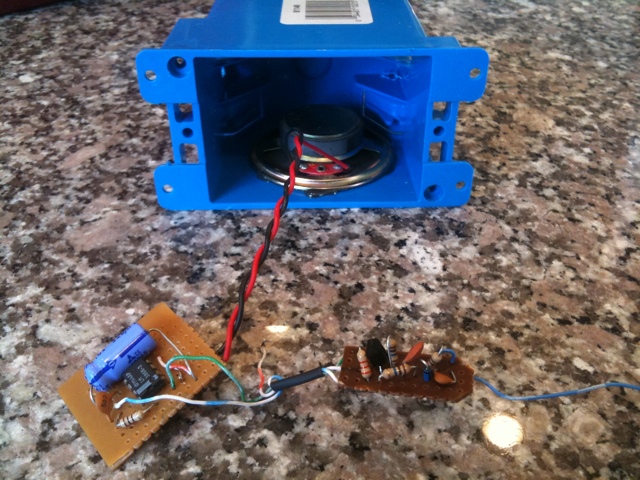
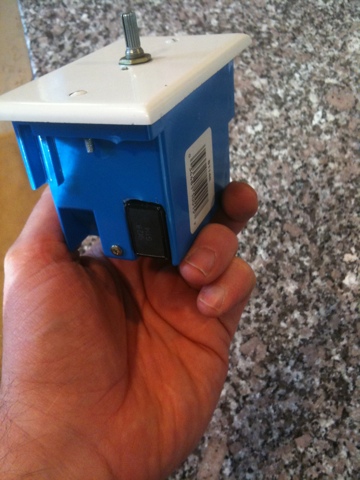
This is the detector hooked up to the audio amplifier (LM386 with a circuit straight off the data sheet). The box is a plastic conduit enclosure from the hardware store.

20110326-105617.jpg

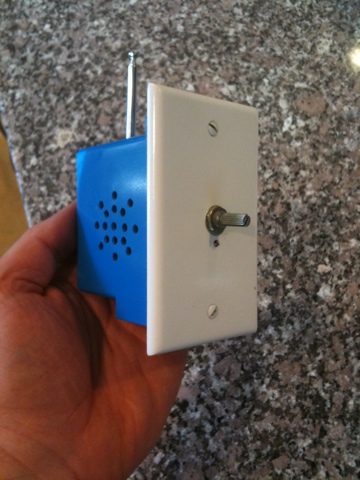
Here’s the box with the volume control/power switch on the front and the antenna poking out the back.

20110326-105628.jpg

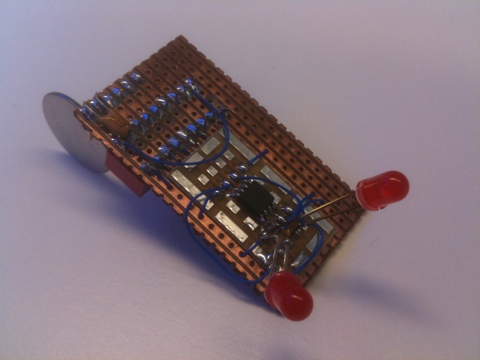
Here’s a view showing the 9v battery holder. The punch out sections are almost perfect for holding one of these batteries in place. It just needed a little milling with the trusty Dremel.

20110326-105637.jpg

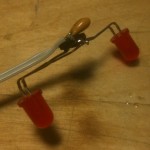
The wires I’m trying to trace are dead so I need to build a simple signal injector and hopefully I can trace the tone to the point where the wire is broken.

Deployed

Sunday, October 31st, 2010

Here is the project deployed in our yard. It’s running on a 6v battery via a 7805 regulator and has so far lasted about 14 hours. Click on the image to see a video.

Eyes Mounted on Frame

Thursday, October 28th, 2010

Looks like I’m steering away from installing the eyes in furry animals and am mounting it on a wire frame instead. Here are the 14 sets tied to the frame while the Sugru hardens.

Rock-bottom Dollar SOIC Programming Socket

Tuesday, October 26th, 2010

While I was working on my Furry Friends project for Halloween I had the need to program 12 Atmel ATTiny45 chips before I soldered them up. I could have programmed them in-circuit but then I thought of this.

This board was originally for code development. Once the development was done I desoldered the chip and put epoxy around the wires to make it robust.
Originally I was holding the chip onto the board while hitting return on my ‘make upload’ command but that was pretty hit-and-miss.
Enter Sugru.
I drilled a couple of registration holds on either side of the SOIC pads on the board. Then I glued a chip to the board with carpenters glue and put a dollop of Sugru on top of it and let it set.

Then I pulled out the chip and trimmed it up a bit.


To program the chip I gently clamped the sugru to the board and programmed. Viola! I programmed the 12 chips without a hitch and saved a couple of hunded dollars on a SOIC programming socket.

Sugru!

Programmer board and first assembly

Wednesday, October 20th, 2010

Here is the development board repurposed as a programmer, and the first assembly. Once I have a few of them I’ll encase them in epoxy and/or Sugru.

Your Furry Friends

Tuesday, October 19th, 2010

Here is this year’s Halloween project. The picture is of an ATTiny45 driving a couple of LEDs via PWM to make them periodically fade up, blink at you for a while and then shut off. It’s running on a 2016 coin cell which gets me about 18 hours of use (not bad). I’m going to make 10 or so of these and put them in some my daughter’s old stuffed animals. Then I’m going to put them all together and have them collectively stare and blink at you. There are two obstacles;
1. Time
2. My wife, who isn’t keen on me mutilating perfectly good stuffed animals. I may have to skulk around the foggy streets and playgrounds of our town in a cape, looking for victims.

Light Saber Sound Module

Thursday, July 29th, 2010

This is a module I’m working on for the son of a friend. It’s an ISD1932 Voice Record Module from Sparkfun driven by an Atmel AT90S4433 microcontroller. The micro is currently hooked up to a tilt sensor and will be shortly connected to these piezo vibration sensors. It’ll trigger the lightsaber sounds as the module is moved around and bumped.